The Ebonheim Chronicle

Development Blog for Chronicles IV: Ebonheim

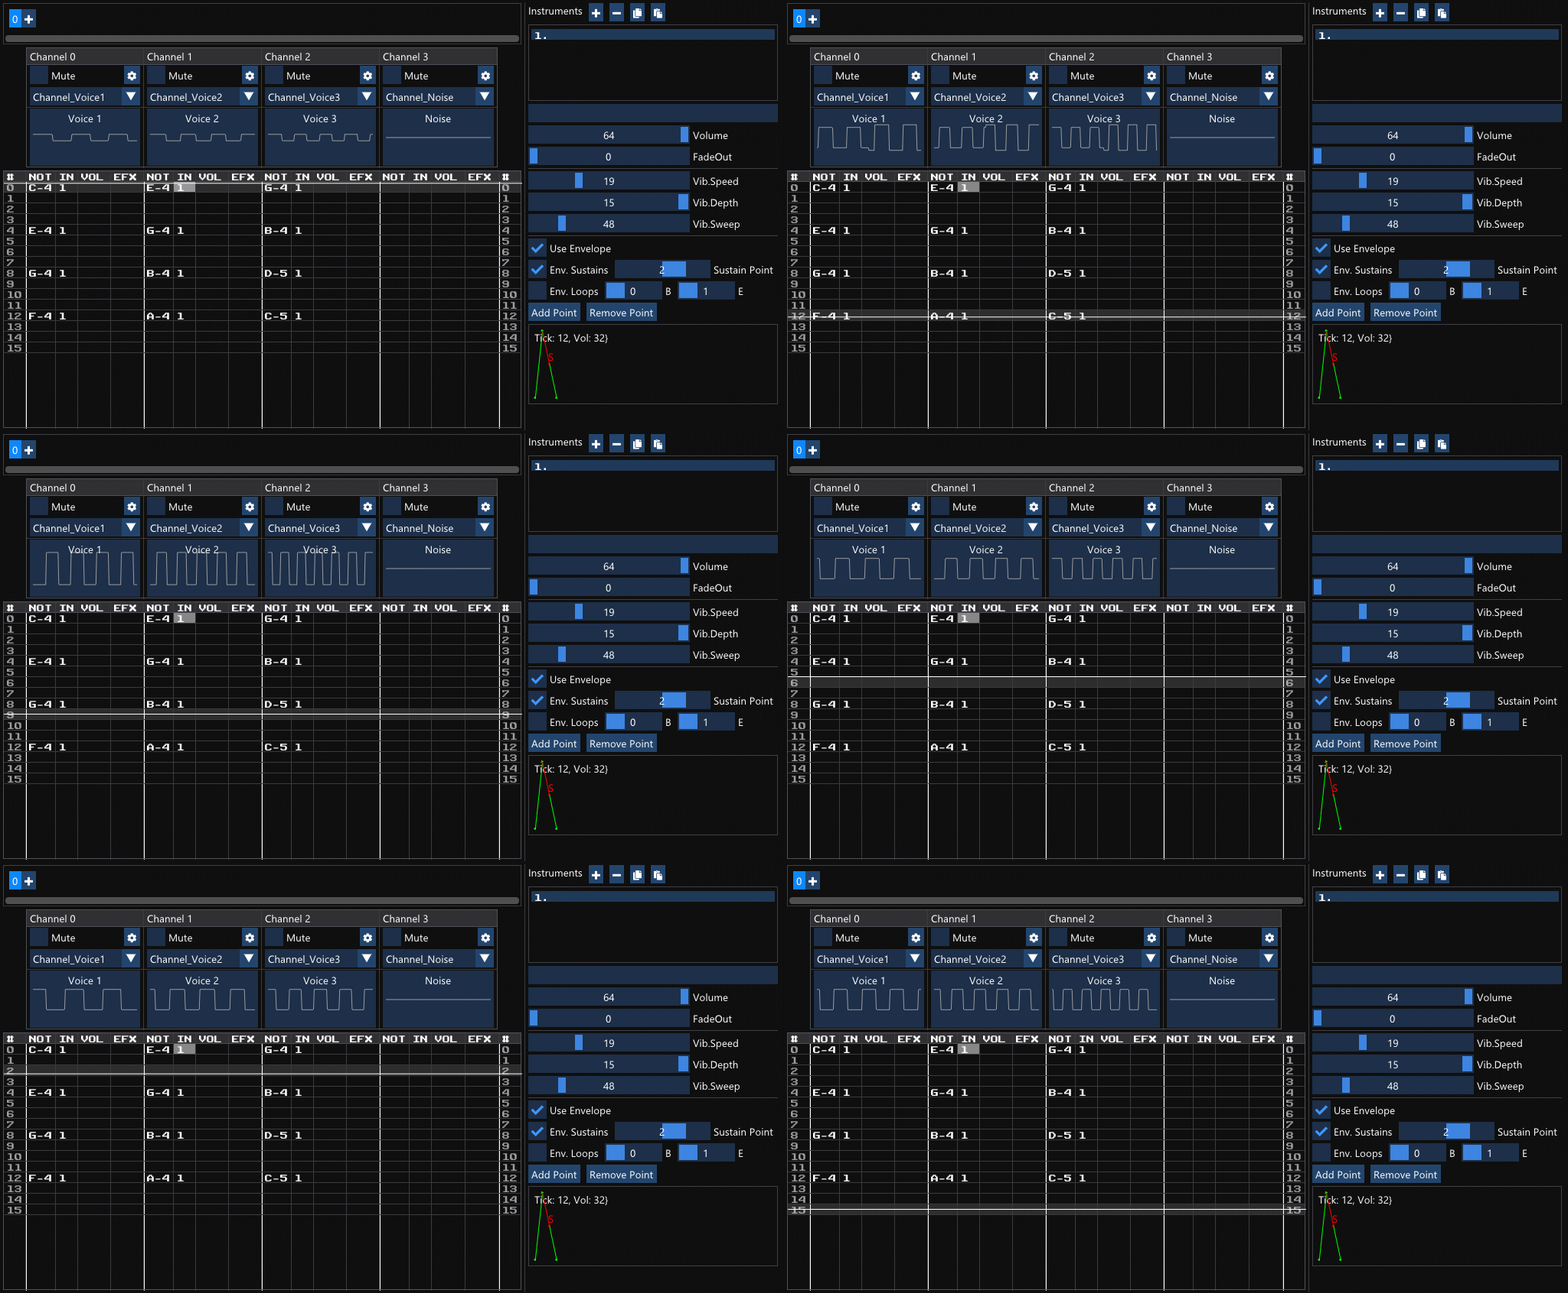
Sat down tonight to actually try and write a more complete song instead of little test loops using the Chronicles Audio Engine (tldr: 3 square wave channels and a noise generator)

I feel like it went very well! But I'm also completely new to this so any constructive feedback is welcome!!!

#gamedev #chron4 #tracker #chiptune

| 🌐 | 🙋‍ | @britown@blog.brianna.town

The final bit was getting my instrument editor working, including an interactive volume envelope editor. It works!!
#gamedev #chron4 #tracker

| 🌐 | 🙋‍ | @britown@blog.brianna.town

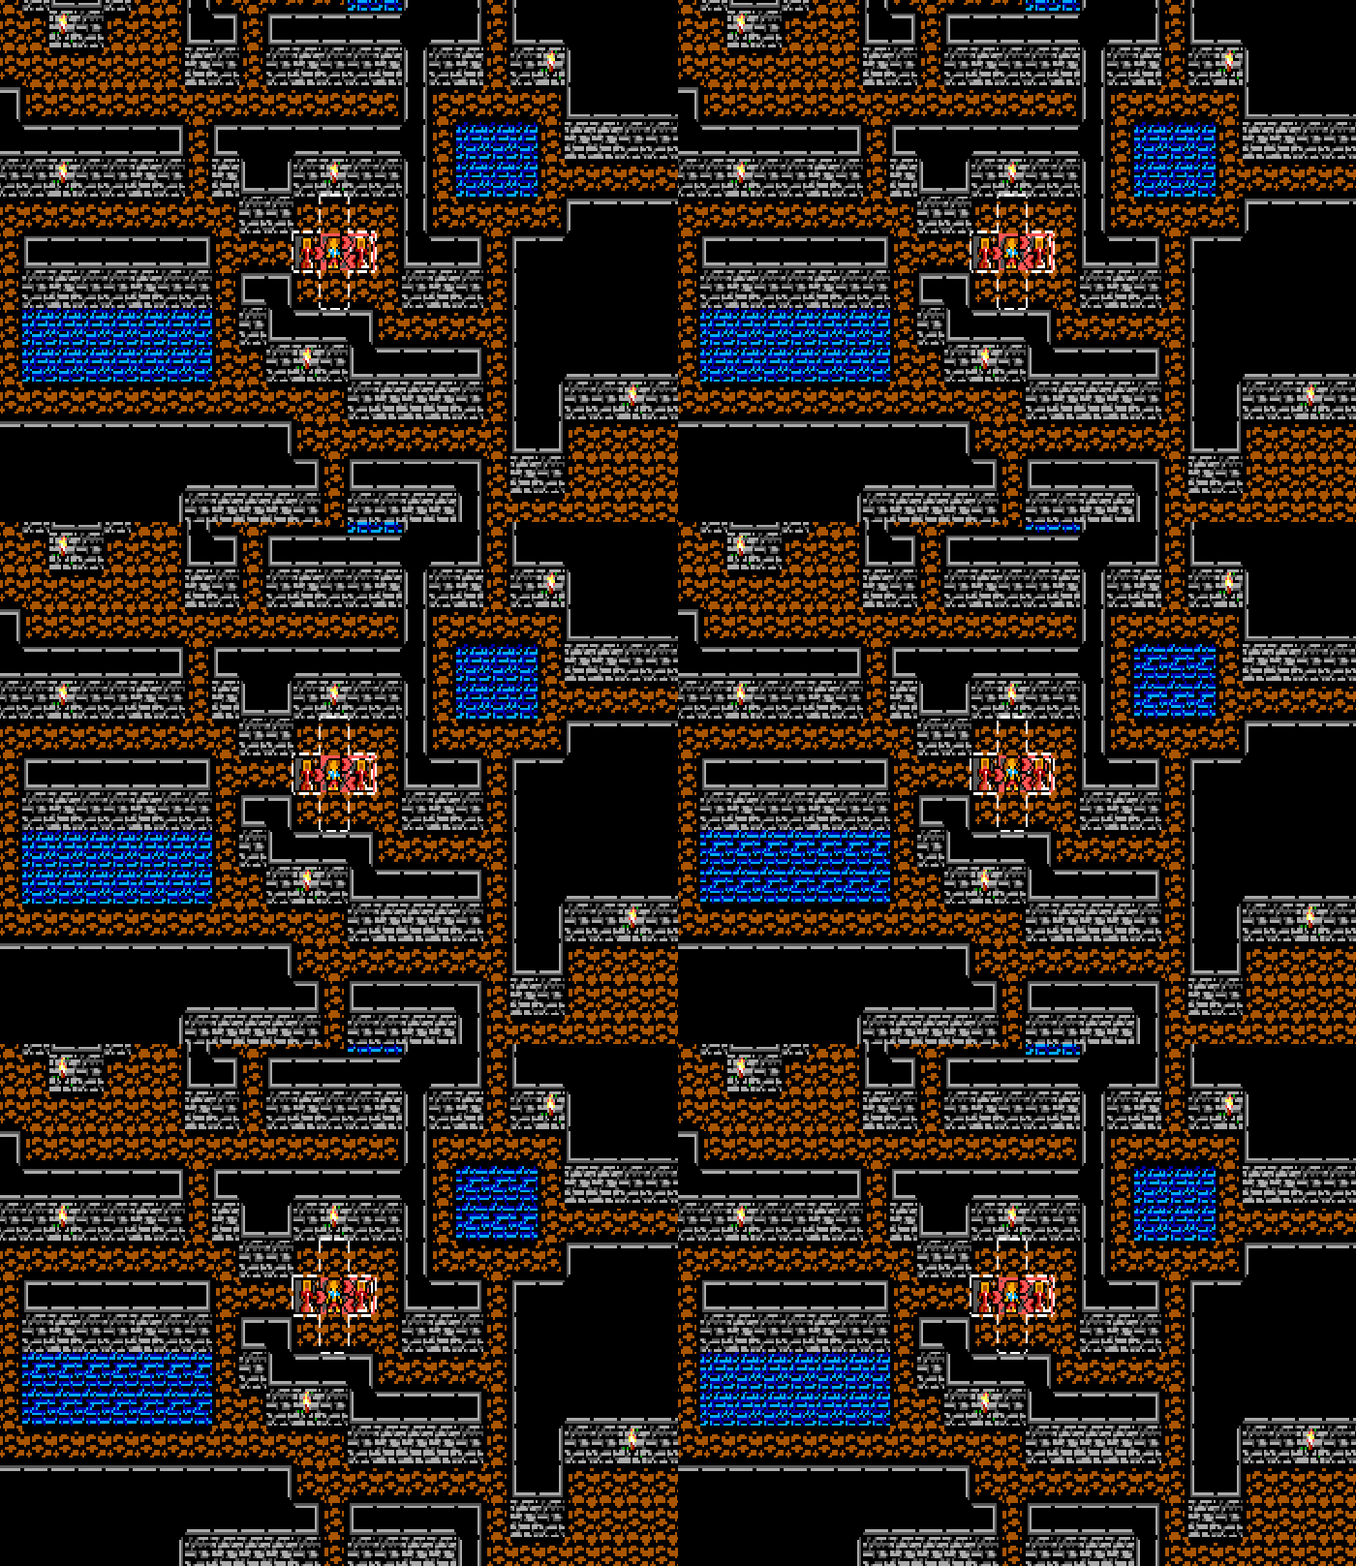
Haven't changed these tiles in a year.

Feedback welcome!

#gamedev #chron4 #pixelart

| 🌐 | 🙋‍ | @britown@blog.brianna.town

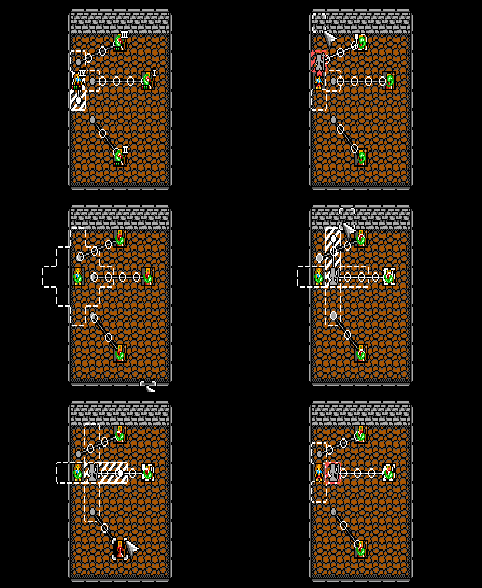
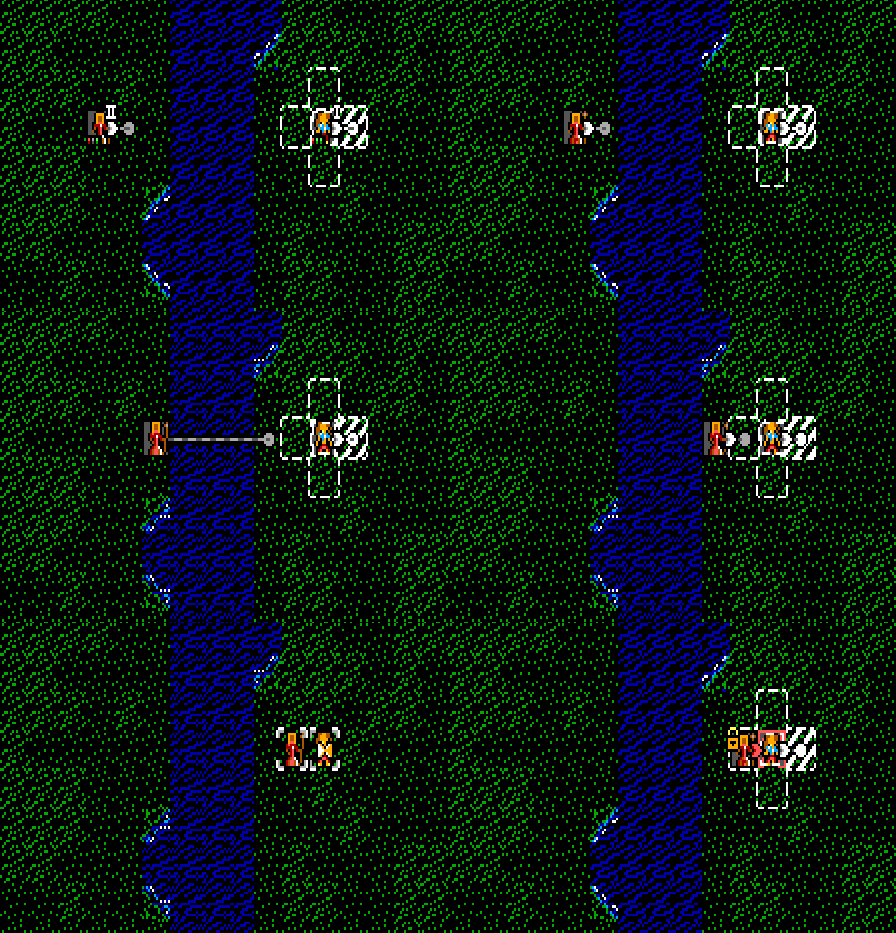
Just completed the second major refactor of the actions system[1]. This time the end goal is being able to query the final game state for a lot of complex result data that I've been needing to display in previews but it's been too much of a pain to aggregate.

  1. Here's talking about the first

Because action lists are arbitrarily complex it's actually very hard to answer some specific questions like “what actors did I damage?” Or “who pushed me?” You want to record some events as you iterate but you don't want to write special event code for every action type which is what I was doing and it scaled horribly.

Anyway the new system feels elegant and just works for all cases including future complex cases in my imagination.

This is the endgame I think of this system, it feels really complete now which is good because it's the primary focus of my demo and I'm tired of hacking at it. I'm honestly really proud of myself for making something that is extremely complex and also straightforward to maintain and upgrade. My code tidiness has really saved me from a lot of headaches.

The main result of this is that turn highlighting telling you what your choices are going to do is finally comprehensive and complete.

The exciting future that this enables, however, is that enemy AI behavior can now know things like “Will using this ability here damage my target” so I can build a system where enemies have behavior goals and can use their abilities and check the results against their goals. If you want to read me ranting about enemy behavior in the complex actions system, you can do so here.

#gamedev #chron4

| 🌐 | 🙋‍ | @britown@blog.brianna.town

It's super easy now to do in-line coloring and icons across all user-facing text in the game 😀

#gamedev #chron4

| 🌐 | 🙋‍ | @britown@blog.brianna.town

I've talked a few times about how I'm replicating the design of Dear ImGui for my in-game UI

I now have the popup system working! Simple popups like context menus or dropdowns will dismiss if you click away from them, and then modal popups will disable everything under them until they are dismissed.

Also shown: Tooltips!

#gamedev #chron4

| 🌐 | 🙋‍ | @britown@blog.brianna.town

“What parts of EGA are you emulating? Only the color space and (more or less) resolution, or do you do something deeper?”

Great question! It's actually been long enough that I had forgotten a lot of the work I did on EGA emulation. The original project stored the frame buffer data in bit-planes the way it was done on the hardware. The code for this is on a public github repo:

#if defined(EGA_MODE_0Dh)
#define EGA_RES_WIDTH 320
#define EGA_RES_HEIGHT 200
#define EGA_TEXT_CHAR_WIDTH 8
#define EGA_TEXT_CHAR_HEIGHT 8
#define EGA_PIXEL_HEIGHT 1.2f
#define EGA_PIXEL_WIDTH 1.00f
#elif defined(EGA_MODE_10h)
#define EGA_RES_WIDTH 640
#define EGA_RES_HEIGHT 350
#define EGA_TEXT_CHAR_WIDTH 8
#define EGA_TEXT_CHAR_HEIGHT 14
#define EGA_PIXEL_HEIGHT 1.37f
#define EGA_PIXEL_WIDTH 1.00f
#else
#error segalib: You must define a video mode in config.h
#endif

#define EGA_COLORS 64
#define EGA_COLOR_UNDEFINED (EGA_COLORS)
#define EGA_COLOR_UNUSED (EGA_COLORS + 1)
#define EGA_PALETTE_COLORS 16
#define EGA_TEXT_RES_WIDTH (EGA_RES_WIDTH / EGA_TEXT_CHAR_WIDTH)
#define EGA_TEXT_RES_HEIGHT (EGA_RES_HEIGHT / EGA_TEXT_CHAR_HEIGHT)
#define EGA_PIXELS (EGA_RES_WIDTH * EGA_RES_HEIGHT)
#define EGA_BYTES (EGA_PIXELS / 8)
#define EGA_PLANES 4
#define EGA_IMAGE_PLANES (EGA_PLANES + 1)

#define MAX_IMAGE_WIDTH 1024
#define MAX_IMAGE_HEIGHT 768

I cringe a little looking back at some of this because I didn't know what I was doing and definitely wasn't doing a lot of hardware-specific memory layout work which is what I would do on an emulation project now. I didn't know about ImGui back then and still wanted my dream of in-engine dev tools so I actually made EGA-compliant developer tools you could switch into for editing the map and writing lua, it was a little wild!

Drawing a bitplaned asset onto an existing framebuffer was a giant pain because you had to shift the asset to align to the correct place. It was actually a performance problem on modern hardware and I ended up needing to do it much smarter than I originally thought. I remember digging up a lot of old posts and articles about techniques people used like this for storing animations inside the bitplanes.

I can't find it now but I remember an article from a developer talking about storing 8 copies of their assets each one shifted by one so you could always just render the aligned asset and never have to do the shifting logic!

When I resurrected the old EGA project into the new engine now powering Chronicles, I vastly simplified the back-end for convenience. Now the frame buffer is just 1 byte per pixel which only stores the palette index. In the end the only restrictions on the current generation of the game is the palette and color logic because even the resolution is apocryphal and text rendering is now completely arbitrary :host-joy:

In the end it's purely an aesthetic restriction now but I did once upon a time aim to have a pure backend implementation!

#gamedev #chron4

| 🌐 | 🙋‍ | @britown@blog.brianna.town

This post details the multi-month dev travels I've been on and goes into specifics of implementation, history of formats, and a lot of learning I had to do. It's a post of a journey and a journey of a post, feedback on anything is very welcome! I hope you enjoy!

Back in 2015 or so, I started working on emulating the hardware limitations of EGA graphics cards. The why on this has definitely been lost to time, but I was fairly obsessed with needing to create a game bounded by some of the same limitations developers had in the 80's. Several projects have come and gone in the intervening years but the current apple of my desire has reached a point where I need to start thinking about the other key media component after graphics...


Why Any of This

Coming off of previous projects I was very keen on the idea of making a game ALONE where I could create 100% of the content. I also had a lot of experience trial-and-erroring different content pipeline schemes and really longed for an integrated asset system that didn't require me to use external tools. All of this grew together into a list of hard requirements for my game that I still stick by, for better or worse:

  1. EGA Color and Palette Logic for 100% of the final framebuffer
  2. The game instance runs inside a larger application alongside other tools.
  3. 100% of content for the game must be creatable and editable using tools inside the application.
  4. Edits to all assets must live-update the running game instance(s)
  5. Sets of assets must be able to be merged together in a cascading fashion to create a final asset set (Think bethesda-style asset packages and load order)

I knew that eventually this was going to mean that I would need to create and edit all of my audio as well. I also knew that I didn't know the single first thing about how to do that! So it was time to learn a lot of new things!

Getting Started

EGA was interesting because it was never able to live up to its full potential as a graphics card. Some really questionable business decisions ultimately constrained gamedevs from ever being incentivized to use the full power of the system. Most of the power of EGA cards were only squeezed out by enthusiasts, homebrew, sceners, that sort. It was also intrinsic to the era of gaming that had some of the first games I ever played in my life.

Ultimately, the more widely-adopted and successful card would be the VGA which would live on into the 90's, but there's a certain underdog story with the EGA that made it perfect for me to want to focus on and emulate. When it came to audio, I wanted to attempt to accomplish a similar thematic tone for which hardware I would target.

Similar to VGA in graphics, it was the Sound Blaster entering the PC audio market in 1989 that would be remembered as dominating that space for years. It had 9 FM Synth voices and could do a ton of complex audio output at a price point for mass adoption.

I wanted to try and find Sound-Blaster's forgotten EGA-like predecessor.

The PC Speaker

PC Audio for games was pretty bleak before the Sound Blaster. There was of course MIDI that you could play with expensive synthesizers like the Roland MT-32, but those were marketed to audio engineers and were grossly expensive. The number of people with expensive sound hardware for playing games on IBM-Compatibles was vanishingly small.

The primary standby was the almighty PIT, the PC Speaker. This 2.25inch magnetic speaker plugged into the motherboard and would beep at you when your computer posted or beep error codes at you for hardware failures. And games used it! You could fairly easily generate square waves for the PIT and play simple musical tones. Granted, being as it's a little magnet in your PC with a black and red wire set dangling out of it, it is just one channel and is pretty limited.

One amazing thing I found was a software-compatibility layer called RealSound that would use PWM to give you 6-bit PCM in multiple channels on the PC Speaker a year before the SoundBlaster came out!

This is all coming out of that single speaker channel:

https://www.youtube.com/watch?v=havf3yw0qyw

I felt like this was all very cool but also maybe a little too low-tech for some of the things I wanted to be able to do for my “1988 Game That Would Have Had No Install Base.” I wanted something just a liiiittle bit more complex. This is when someone on mastodon told me about...

The Tandy 3-Voice

Tandy owned Radio Shack and also had their own line of IBM-Compatible PC's to sell there. My dad worked at Radio Shack for over a decade and it's safe to say that the first computer I ever used was a might Tandy.

The Tandy PC's used the Texas Instrument SN76489 Digital Complex Sound Generator which was neat because it:

  1. Had 3 simultaneous square-wave generators along with a 4th channel for noise-generation, almost like having 3 and a half PC speaker channels.
  2. Was used in the Colecovision, the Neo Geo Pocket, and the god damn Sega Genesis
  3. Probably produced the first video game audio I ever heard as a kid.

Here's some rad 3-Voice jams for your enjoyment as you continue to read this very long post.

https://www.youtube.com/watch?v=iVpDcYiCiJo

So I was convinced! The Tandy 3-Voice would join EGA in my weird fantasy-DOS-era game project! Now I just had to write an emulator for it.

Emulating the Chip

This actually came together very quickly, over just a few days. The starting point was just combing through this 1984 Data Sheet from Texas Instruments detailing how the chip works. At the end of the day all I had to do was write a struct and function that would iterate a number of clock cycles and output the final value into a modern -1.0f – 1.0f float16 sound buffer.

The hardest part of this was honestly the gross ambiguity present in the data sheet. It covers 4 different models, 2 of which have a different clock-speeds, and while it does a pretty good job of distinguishing between the two speeds in it's descriptions, it often forgets to mention what context exactly it's talking about. It was kind of fun to try and read the tea leaves of what they were trying to say but also a bit maddening.

Of course the most difficult thing is actually verifying if my implementation is correct! I don't have a Tandy 1000 sitting around the house but I do have DOSBox. After reading some documentation I found that DOSBox does have a Tandy mode that outputs to the 3-voice chip and after digging into their source a bit I found that their emulation of the chip was verified by an oscilloscope! Perfect!

Next I needed a way to test a range of different sounds in DOSBox to compare against my own output. Well, how about this custom DOS tracker program made specifically for outputting to the SN76 from fucking 2021??? God, I love nerds :eggbug-smile-hearts:

Between hearing how the 3-Voice was supposed to sound, getting my noise generation to be in the same general ballpark, and getting some data-sheet ambiguities cleared up by checking against a few different emulator sources, I arrived at honestly a very small amount of code to emulate the chip:

#define SOUNDCHIP_LFSR_INIT 0x4000  // Initial state of the LFSR

struct Chip {
   uint16_t tone_frequency[3] = { 1, 1, 1 }; // 10bits, halfperiods
   byte tone_attenuation[4] = { 15, 15, 15, 15 }; // 4bits, 0:0dB, 15:-30dB/OFF
   byte noise_freq_control = 0; // 2bits
   byte noise_feedback_control = 0; // 1bit

   uint16_t lfsr = SOUNDCHIP_LFSR_INIT; // 15bit
   uint64_t clock = 0; // cycle time of last update

   // newrender attempt
   bool flipflop[4] = { 0 };
   word counts[4] = { 1, 1, 1, 1 };
};

float chipRenderSample(Chip& chip, uint32_t cyclesElapsed){
   // every 16 cycles ticks everything forward
   chip.clock += cyclesElapsed;
   while (chip.clock > 16) {
      // perform a tick!
      for (byte chnl = 0; chnl < 4; ++chnl) {
         --chip.counts[chnl];
         if (!chip.counts[chnl]) {
            if (chnl < 3) {
               chip.counts[chnl] = chip.tone_frequency[chnl];
               chip.flipflop[chnl] = !chip.flipflop[chnl];
            }
            else {
               // noise
               auto fc = chip.noise_freq_control & 3;
               auto freq = fc == 3 ? (chip.tone_frequency[2] & 1023) : (32 << fc);
               chip.counts[chnl] = freq;

               if (chip.noise_feedback_control) {
                  // white noise
                  chip.lfsr = (chip.lfsr >> 1) | (((chip.lfsr & 1) ^ ((chip.lfsr >> 1) & 1)) << 14);
               }
               else {
                  // periodic noise
                  chip.lfsr = (chip.lfsr >> 1) | ((chip.lfsr & 1) << 14);
               }
               if (!chip.lfsr) {
                  chip.lfsr = SOUNDCHIP_LFSR_INIT;
               }

               chip.flipflop[chnl] = chip.lfsr & 1;
            }
         }
      }
      chip.clock -= 16;
   }

   float out = 0.0f;
   for (byte c = 0; c < 4; ++c) {
      // convert attenuation to linear volume
      auto atten = chip.tone_attenuation[c] & 15;
      float amp = 0.0f;
      if (atten == 0) {
         amp = 1.0f;
      }
      else if (atten < 15) {
         auto db = (atten) * -2.0f;
         amp = powf(10, db / 20.0f);
      }

      auto wave = chip.flipflop[c] ? 1.0f : -1.0f;
      out += wave * amp;
   }

   // divide the 4 channels to avoid clipping
   return out * 0.25f;
}

Music

The next step after having some square waves is figuring out how to make some music. How do you go from “Play a C-Sharp” to the correct 10 bytes of tone-register on the 3-voice??? This took quite a bit of trial-and-error and a lot of researching how scales and keys and western music work...

static const int SEMITONES_PER_OCTAVE = 12;
static const double A4_FREQUENCY = 440.0;
static const int A4_OCTAVE = 4;
static const int OCTAVE_COUNT = A4_OCTAVE * 2 + 1;
static const int A4_SEMITONE_NUMBER = 9; // A is the 10th note of the scale, index starts from 0

#define NOTE_COUNT 7
static const int NOTE_SEMITONE_INDICES[NOTE_COUNT] =  {  0,   2,   4,   5,   7,   9,   11 };
static const char NOTE_CHARS[NOTE_COUNT] =            { 'C', 'D', 'E', 'F', 'G', 'A', 'B'};

// get a semitone from a a Note eg. "A4#"
int sound::semitoneFromNote(char note, int octave, char accidental) {
   int index = (note >= 'C' && note <= 'G') ? (note - 'C') : (note - 'A' + 5);

   int semitone_number = octave * SEMITONES_PER_OCTAVE + NOTE_SEMITONE_INDICES[index];
   if (accidental == '#') semitone_number++;
   else if (accidental == 'b') semitone_number--;

   return semitone_number;
}

// convert semitone to frequency
double sound::freqFromSemitone(int semitone) {
   int distance_from_A4 = semitone - (A4_OCTAVE * SEMITONES_PER_OCTAVE + A4_SEMITONE_NUMBER);
   return A4_FREQUENCY * pow(2.0, (double)distance_from_A4 / SEMITONES_PER_OCTAVE);
}

// convert frequency to a tone value in the chip
uint16_t sound::chipToneFromFreq(uint64_t clockSpeed, double freq) {
   return ((uint16_t)round(((double)clockSpeed / (32.0 * freq)))) & 1023;
}

// combine it all together and set a note into the chip
void sound::chipSetNote(sound::Chip& chip, uint32_t clockSpeed, uint8_t channel, char note, int octave, char accident) {
   chipSetTone(chip, channel, chipToneFromFreq(clockSpeed, freqFromSemitone(semitoneFromNote(note, octave, accident))));
}

With this grounding, I could easily play any given scale note on the chip, and was quickly able to play a few hard-coded chords to test! But I definitely was going to need something more robust for designing the notes and timing for game audio.

Trackers

The big missing bullet point from the “Why any of this” section is that I really like Cave Story. It's somewhat well-known that the creator of Cave Story created his own tracker format and wrote all the music for the game in his own tools. You can go download them! So it definitely planted a seed for me that if I were to use my chip to make some in-game music, I could make a tracker.

The only tiny issue facing me at that point is that I didn't actually know what a tracker is.

Trackers came from the Amiga (The word comes from the “Ultimate Soundtracker” software) in the late 80's as a way to play audio samples in sequences controlling pitch and adding effects. They're still used today by demosceners and gamedevs alike!

https://www.youtube.com/watch?v=YI_geRPR9SI

As sound hardware improved, newer and newer tracker formats came out one after the other to allow more channels, more effects, larger samples, etc. .MOD, .S3M, .XM, and .IT were all tracker formats that each appended new features onto their predecessor.

Nowadays there's OpenMPT, an open-source project for wrangling all the past formats into a unified editor and player. Part of that project is also a library for reading module formats and playing them back in your own applications. Something cool about tracker modules is that they contain the sample as well as the playback logic (as opposed to MIDI which requires a synthesizer to generate the sound) so as long as you can load the module into the appropriate tracker, you can play it back and it will sound just the same as it played when it was written!

libopenmpt has been used to make web widgets for playing back modules that go back 40 years!

Backwards Compatibility

So I started working on a “tracker module editor” (I'll just say tracker here on out) inside my game engine that, rather than playing back samples from the instruments table, would instead render to the emulated SN76496 square waves.

With all my research into trackers I quickly realized that I would be remiss to not be able to load existing modules into my own tracker. At the very least this would be a great way to test my playback functionality!

My first attempt at this was to use libopenmpt, which has a just staggering list of supported file-extensions and really just worked right out of the box. As I played with it though, I ran up against the issue that the library is not meant for exporting modules to new tracker programs, the data I could retrieve was mostly there for playback visualization and it was assumed you would use the library to do the actual playback.

All I was really looking for was not to have to reimplement a file-loader for ancient file-formats with a thousand little inconsistencies and gotchyas. There was a lot of data in the modules libopenmpt was loading that it was not exposing and that I would need to perfectly perform the playback, so I looked to other options.

ft2-clone

Fast Tracker 2 is a 1992 DOS tracker made by some Swedish sceners who would later go on to found Starbreeze studios, known for Riddick: Butcher Bay and Brothers: Tale of Two Sons. The tracker supported the new XM multichannel module format and improved on several earlier trackers up to that point.

While development on the original program (written in Pascal) was eventually discontinued, Olav “8bitbubsy” Sørensen on Github has been hard at work to make a version of FT2 that just runs on modern hardware via SDL2.

Seeing as FT2 correctly and successfully loads modules of type .MOD, .S3M, and .XM (among others) I started looking so see if I could potentially lift the loader code for my own tracker. What I found was a real miasma of global state and multi threading that definitely worked, but was going to be extremely difficult to extricate.

What I wound up doing instead is forking the repository and adding a static library that could be used to call into ft2-clone's loader code:

int loadModuleFromFile(const char* path, Snd_Module& target) {   
   if (!libft2_loadModule((wchar_t*)s2ws(path).c_str())) {
      target = {};
      target.globalVolume = (byte)song.globalVolume;
      target.speed = (byte)song.speed;
      target.tempo = song.BPM;
      target.repeatToOrder = song.songLoopStart;

      target.channels.resize((word)song.numChannels);

Loading Old Modules

Remember Cave Story? Well as it turns out, there are compatible XM files of all the songs from that soundtrack. So first thing after getting my mod loader working was to import the intro song into my fledgeling tracker.

Granted the original file uses 8 channels and has a lot of different instruments, but I added a feature for choosing the most important channels and deciding which ones would map to my 3 square waves. Then, after doing some octave transposition, I got it working:

https://mastodon.gamedev.place/@britown/110737651287228959

Loading existing modules into my tracker became a great way to test my implementation of all of the different effects. I spent dozens of hours researching all of the different note effects in FT2 and how they needed to be implemented, from vibrato to pitch-sweeping to pattern-breaks.

This song in particular really made me feel like I was just about completely done because it causes the tracker to look like it's playing backwards at a point:

https://mastodon.gamedev.place/@britown/110778674092762077

Building out the Editor

From here it was time to make it so I could actually insert notes and effects into my own modules! This has been the most fun part of just adding the features that make the most sense as I need them.

When I created a pixel-art editor for creating EGA assets in my game, I got to add all the quality of life features I wanted that would make content generation as painless as possible. For a tracker, I get to first teach myself how to write tracker music and then tailor my editor to things I think will be useful.

There's still a laundry list of features before I consider the tool complete but I've already started annoying my friends with exported WAVs as I try my hand at composition.

Back to Game Development

I'm quickly approaching the time to start working back on Chronicles proper but I'm so excited to have a pipeline for new music and sound effects that I can pepper in!

The tracker will also be used to make sound effects because you can pretty easily use arpeggio, pitch sweeps, noise channel, etc. to do some jsfxr-like sound clips!

It's been such a refreshing and engaging project, and reminds me of just how feverish and obsessed I was implementing scanline logic and bit-planes for EGA. This project has always been more about a long term learning mechanism than actually a finished game but hey it's looking like I might actually achieve that someday too!

Edit: Tracker Progress!

If you'd like to see how the tracker turned out, here is a gif of it working and here is the first song I wrote in it ☺

Holy crap you read all of this? Good job! :eggbug:

Leave a comment and tell me how your day has been :eggbug-smile-hearts:

#gamedev #chron4 #tracker #chiptune

| 🌐 | 🙋‍ | @britown@blog.brianna.town

When I first started trying to emulate EGA, I wrote an algorithm for attempting to convert a PNG image into the EGA color space given a specific palette.

EDIT: If you want to try it out yourself, the old C source is here. And that repo includes prebuilt windows binaries so you can download “SEGA Studio.exe” and “segashared.dll” from this folder and get this great windows app:

| 🌐 | 🙋‍ | @britown@blog.brianna.town

This project has existed in some form or another in my head and beyond since 2015, and the current iteration where it turned into a pseudo-tactic roguelike is actually the 4th engine effort (it was always called Chronicles 4, but now it's actually the fourth attempt)

All that aside, today last year was my first commit of the new vision and it's the one that has stuck. It's no coincidence that it shares a birthday with Eggbug, as I found this site around the same time that I began working and it was a great outlet for sharing that progress! I've so enjoyed sharing the development with you all here and even though my time for it is at a premium, I am excited to keep chipping away at it!

#chron4 #birthday

| 🌐 | 🙋‍ | @britown@blog.brianna.town